Mountain Pose
Tadasana is purported to be the foundation for all other standing postures.
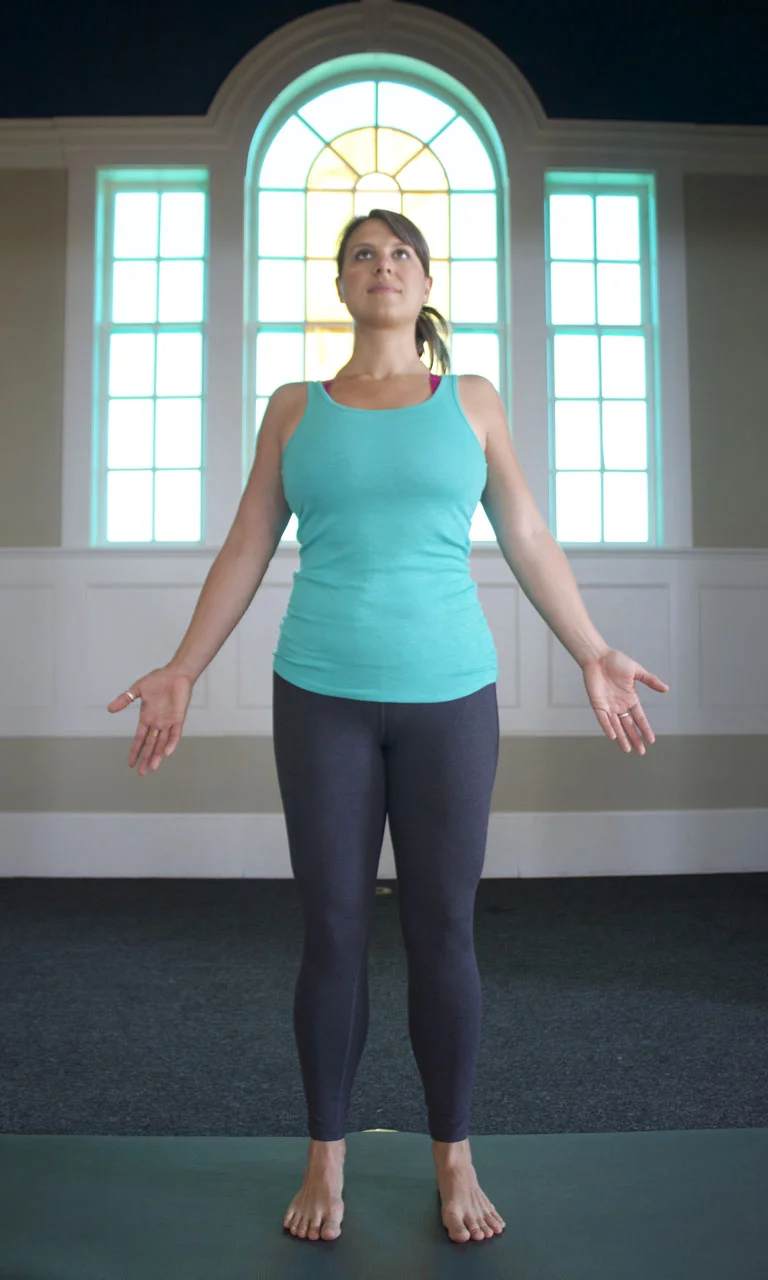
One of the first postures we learn in yoga practice, and in my opinion, one of the least understood. Tadasana is purported to be the foundation posture for all other standing postures, the blueprint for actions that apply whenever we’re on our feet. When I look around classes in which I participate as well as in classes I teach, I find that Mountain is a sloppy, saggy uninvolved version of Savasana in an upright orientation. I see hands soft, fingers curled into palms with little or no awareness. Do mountains sag? Do mountains hang, droop, and let go of their internal integrity? Of course they do — right before a cataclysmic landslide. Is this the version of Mountain pose we truly wish to embody?
Not me. I want to find the spirit of many layers of eon-hardened sediment, once fluid lava flows and the tons of tons of tons of tons of mineral weight breaking free of gravity to shift subtly upward, through immeasurable forces and adjustments so finite and so slow that they are nearly imperceptible. I want to sweat with the internal effort of my Tadasana.
I want the palms of my hands to be the reflection of my true heart — the heart that shines its light boldly across the landscape. The hands are the doorway into the heart, lung and digestive tract. Our emotional intelligence, our energetic fuel source. Our hands should open broad and strong and boldly to the world.
For that ideal to be achieved, we need to work from the inside out, making small yet strong adjustments from our feet to our crown. I suggest the following steps or queues to rework your Tadasana:
Knees never lock!
Locked knees prevent the muscles on the front and back of the knees from counteracting to support the joint. In locked knees, all the gravitational energy runs through the ligaments instead of the muscles. In this case, the likelihood of muscle imbalance increases dramatically. See Counteraction in the Glossary.

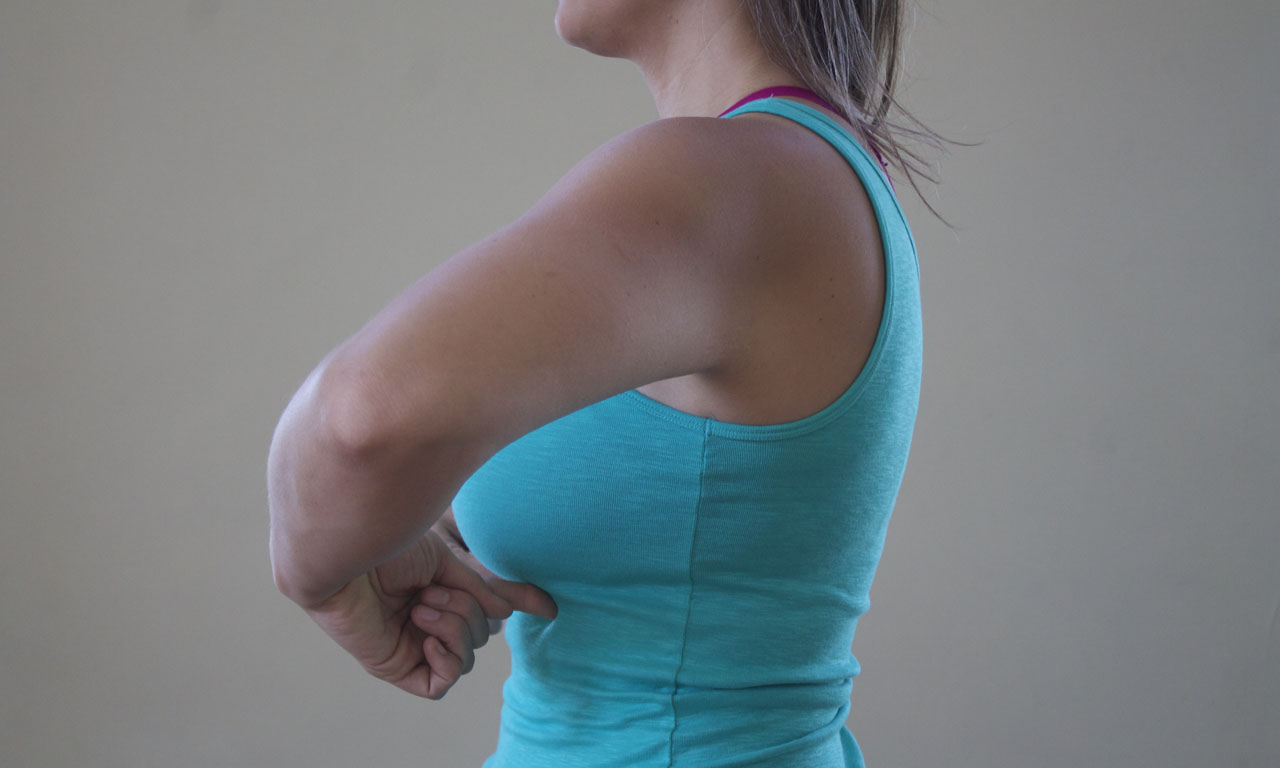
When the pelvis is shifted forward the lumbar spine is subjected to much greater compressive forces.
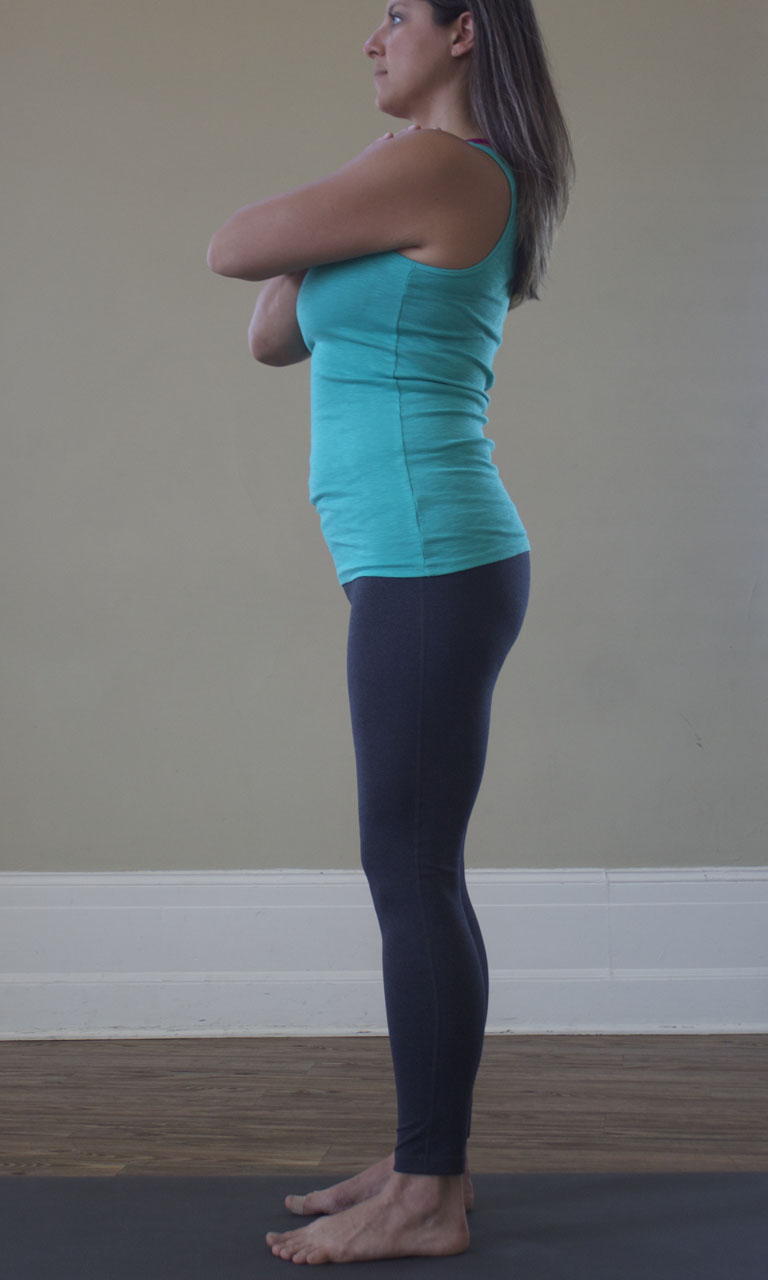
When the greater trochanter aligns over the ankle bone the lumbar curve is naturalized and decompressed.
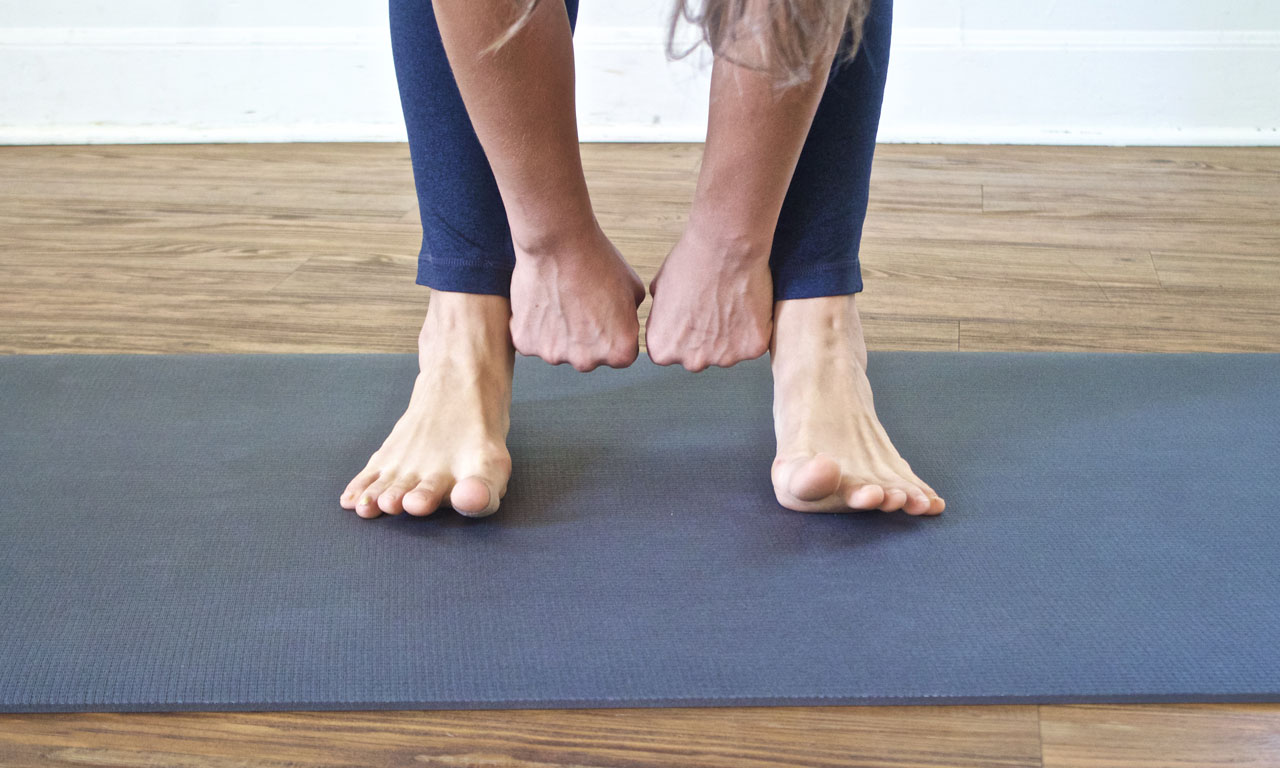
Your own proportions are the best measure for finding good alignment. Here, the fists measure hip-distance.
Feet hip width.
If you made two strong fists and lined them up together with your thumb knuckles on your pubic bone, your pinky fingers would line up just about where your femurs meet your pelvis at your actual hip joint. If you then move those two fists down to the space between your ankle bones, your feet will align just under your hip joints. This position is stronger for most people’s hip joints AND places less stress on the knees.
Balance weight between outer heels and big toe mound.
Trust your ankles, shifting weight back so tops of thigh bones (greater trochanters) align over ankle bones. Use muscles of the calf to actively engage the sole of the foot and press down with big toe mound. The arches should lift slightly and the entire sole feel active and light. You might feel the edges of the feet ground down at the same time.
Gently draw ankles together as if holding a block between them.
This activates the internal rotators at the hip in a much more gentle way than gripping a block between the thighs. This is a stabilizing action, not a gross movement. Too much internal rotation can put a ton of stress on the connective tissues and cartilage in the knees.
Gently rotate thigh bones outward as if you wanted to press into a strap wrapped around them.
This activates the external rotators of the hips in a gentle way. This counteracts the internal rotation noted above to stabilize the hips in a firm isometric contraction system (counteraction). These actions meet in the middle, never one overpowering the other.
Lift sacrum lightly toward the back of the heart.
The lumbar paraspinal muscles will activate to form the NEUTRALITY of the lumbar lordosis and a neutrally tilted pelvis. We DO NOT want to drop or tuck the tail. More on that later.

This is a tucked tail, or posterior pelvic tilt. This action doesn’t neutralize the spine or pelvis, but instead disrupts the continuity of the lumbar curve and stability of the abdominal core.

This is neutral pelvic tilt with active belly and neutral lumbar lordosis.
Activate Mula Bandha.
This is not a Kegel, and it is not clenching the perineum, those actions can undermine your pelvic/spinal stability. Instead, try pulling the lowest abdominal muscles fibers, just behind the pubic bone, back in space — 10-20% effort. This will engage the deeper fascial layers that interconnect the muscular walls and pelvic viscera.
Firm the central belly and pull side-waist lines in toward your midline.
With these actions, we pressurize the fluid abdominal contents to support the lumbar curve in a hydraulic fashion. This is much more stable than simply engaging the Rectus Abdominis against the spinal muscles.
Uddiyana Bandha activation serves to pull the front ribs down and lift the back ribs up off the lumbar spine.
Activate Uddiyana Bandha.
Contract the muscles of the upper abdomen, from the navel to the ribs, as if you could touch the spine and tuck them up under the ribs. This will effectively pull the front of the ribs DOWN. Yes, DOWN, and lift the back ribs up slightly. This helps to decompress the lumbar spine and stabilize levels T10-T12.
Lift the collarbones and shoulder blades to neutral.
In order to take tension out of the Trapezius and Levator Scapulae muscles, you need to contract them slightly. Our shoulder blades are not meant to hang heavy down our ribs — we are designed to hold them actively upward, lifting the collar bone off of the top ribs to allow room for the blood vessels and nerves that pass underneath it.
Pull shoulder blades together toward the spine until the chest and upper back are equally broad.
Once the collarbones are high enough to clear the ribcage, we only want to broaden the chest to the point where the upper back and chest are balanced. We DO NOT want to puff the chest up and lose integrity at the Solar Plexus/Uddiyana Bandha. The scapulae move separately from the ribcage and we want to encourage their autonomy with these stabilizing actions.
Rotate arms outward to neutral and spread palms wide and strong.
External rotation of the arm bones helps lighten the load on the scapulae and allow them more freedom to adduct toward the spine. It also neutralizes the head of the femur in the socket and balances the muscles on the front and back of the joint. Spreading the hands broad and activating the fingers reflects the broadness of the heart and the large capacity of the lungs. It also begins to warm up and activate the muscles that will assist us in weight bearing when the time comes.